DIY: How to flash bmw idrive 4 to idrive 6 for apple carplay and installing wi-fi antenna
How to install wifi antenna & the Proccess of getting your iDrive flashed from idrive 4 to idrive 6Before (iDrive 4)
After (iDrive 6)
In this tutorial I will show you step by step on how to install your Apple CarPlay Wi-Fi Antenna and the process of getting your iDrive 4 Evo flashed to iDrive 6. Below you will find items used and needed to complete.
Click here to Purchase Flash
Use Code: MIXD for 15% Off

Windows Laptop or Mac using Boot Camp (Click Here) for more information

ENET Cable

Trim Removal Tool Kit

Wi-Fi Antenna
(OEM Part Number # 61-11-9-278-133)

Battery Charger

Torx Bit Socket Set - (T20 NEEDED)
After purchasing above requirements you will than receive an email containing the Software and Data to accomplish the Flash.
Also during this time you will be able to schedule your appointment within the email.
After scheduled you will than be contacted by a Easy Bimmer Coding Expert which will connect to your laptop “Remotely” over Wi-Fi to perform the Flash and Coding.
YOU WILL RETAIN ALL FEATURES INCLUDING CONNECTED SERVICES, REMOTE SERVICES, SIRIUS XM, etc.
Below you will find Compatible cars and if your unsure be sure to reach out to info@easybimmercoding.com
1 Series: F20 / F21 with NBTEvo iDrive 4 (late 2015/early 2016)
2 Series: F22 / F23 with NBTEvo iDrive 4 (late 2015/early 2016)
3 Series: F30 / F31 with NBTEvo iDrive 4 (late 2015/early 2016)
4 Series: F32 / F33 / F36 with NBTEvo iDrive 4 (late 2015/early 2016)
M2 / M3 / M4: F80 / F82 / F83 / F87 with NBTEvo iDrive 4 (late 2015/early 2016)
To Check Firmware Version – Go to Navigation > Press Options Button > Go to Settings > Go to Position & Version History > Check Version - You will see NBTEVO_XXXXX
** Your map version has to be NBTEvo_XXXXX ( NBTEvo_C / NBTEvo_D / NBTEvo_E / NBTEvo_F) **
All REGIONS Supported
Assuming you have purchased all needed items & you have scheduled your appointment. We can begin the process of installing your Wi-Fi Antenna for your Apply CarPlay.
(Disclaimer: You do not need antenna installed during flash. You can either install before or after your flash has been completed.)

1. First will we begin with removing the carbon fiber dash trim starting at the corner of your instrument cluster. Be careful during this process as clips may seem tight.

2. Move to the middle of the trim and beginning prying carefully to remove clip.

3. Now for the most bridle part, beginning prying under A/C vent and work your way to the apposite corner. Just to be sure you are loosing all tight areas so trim does not crack.

4. Remove both connectors shown above.
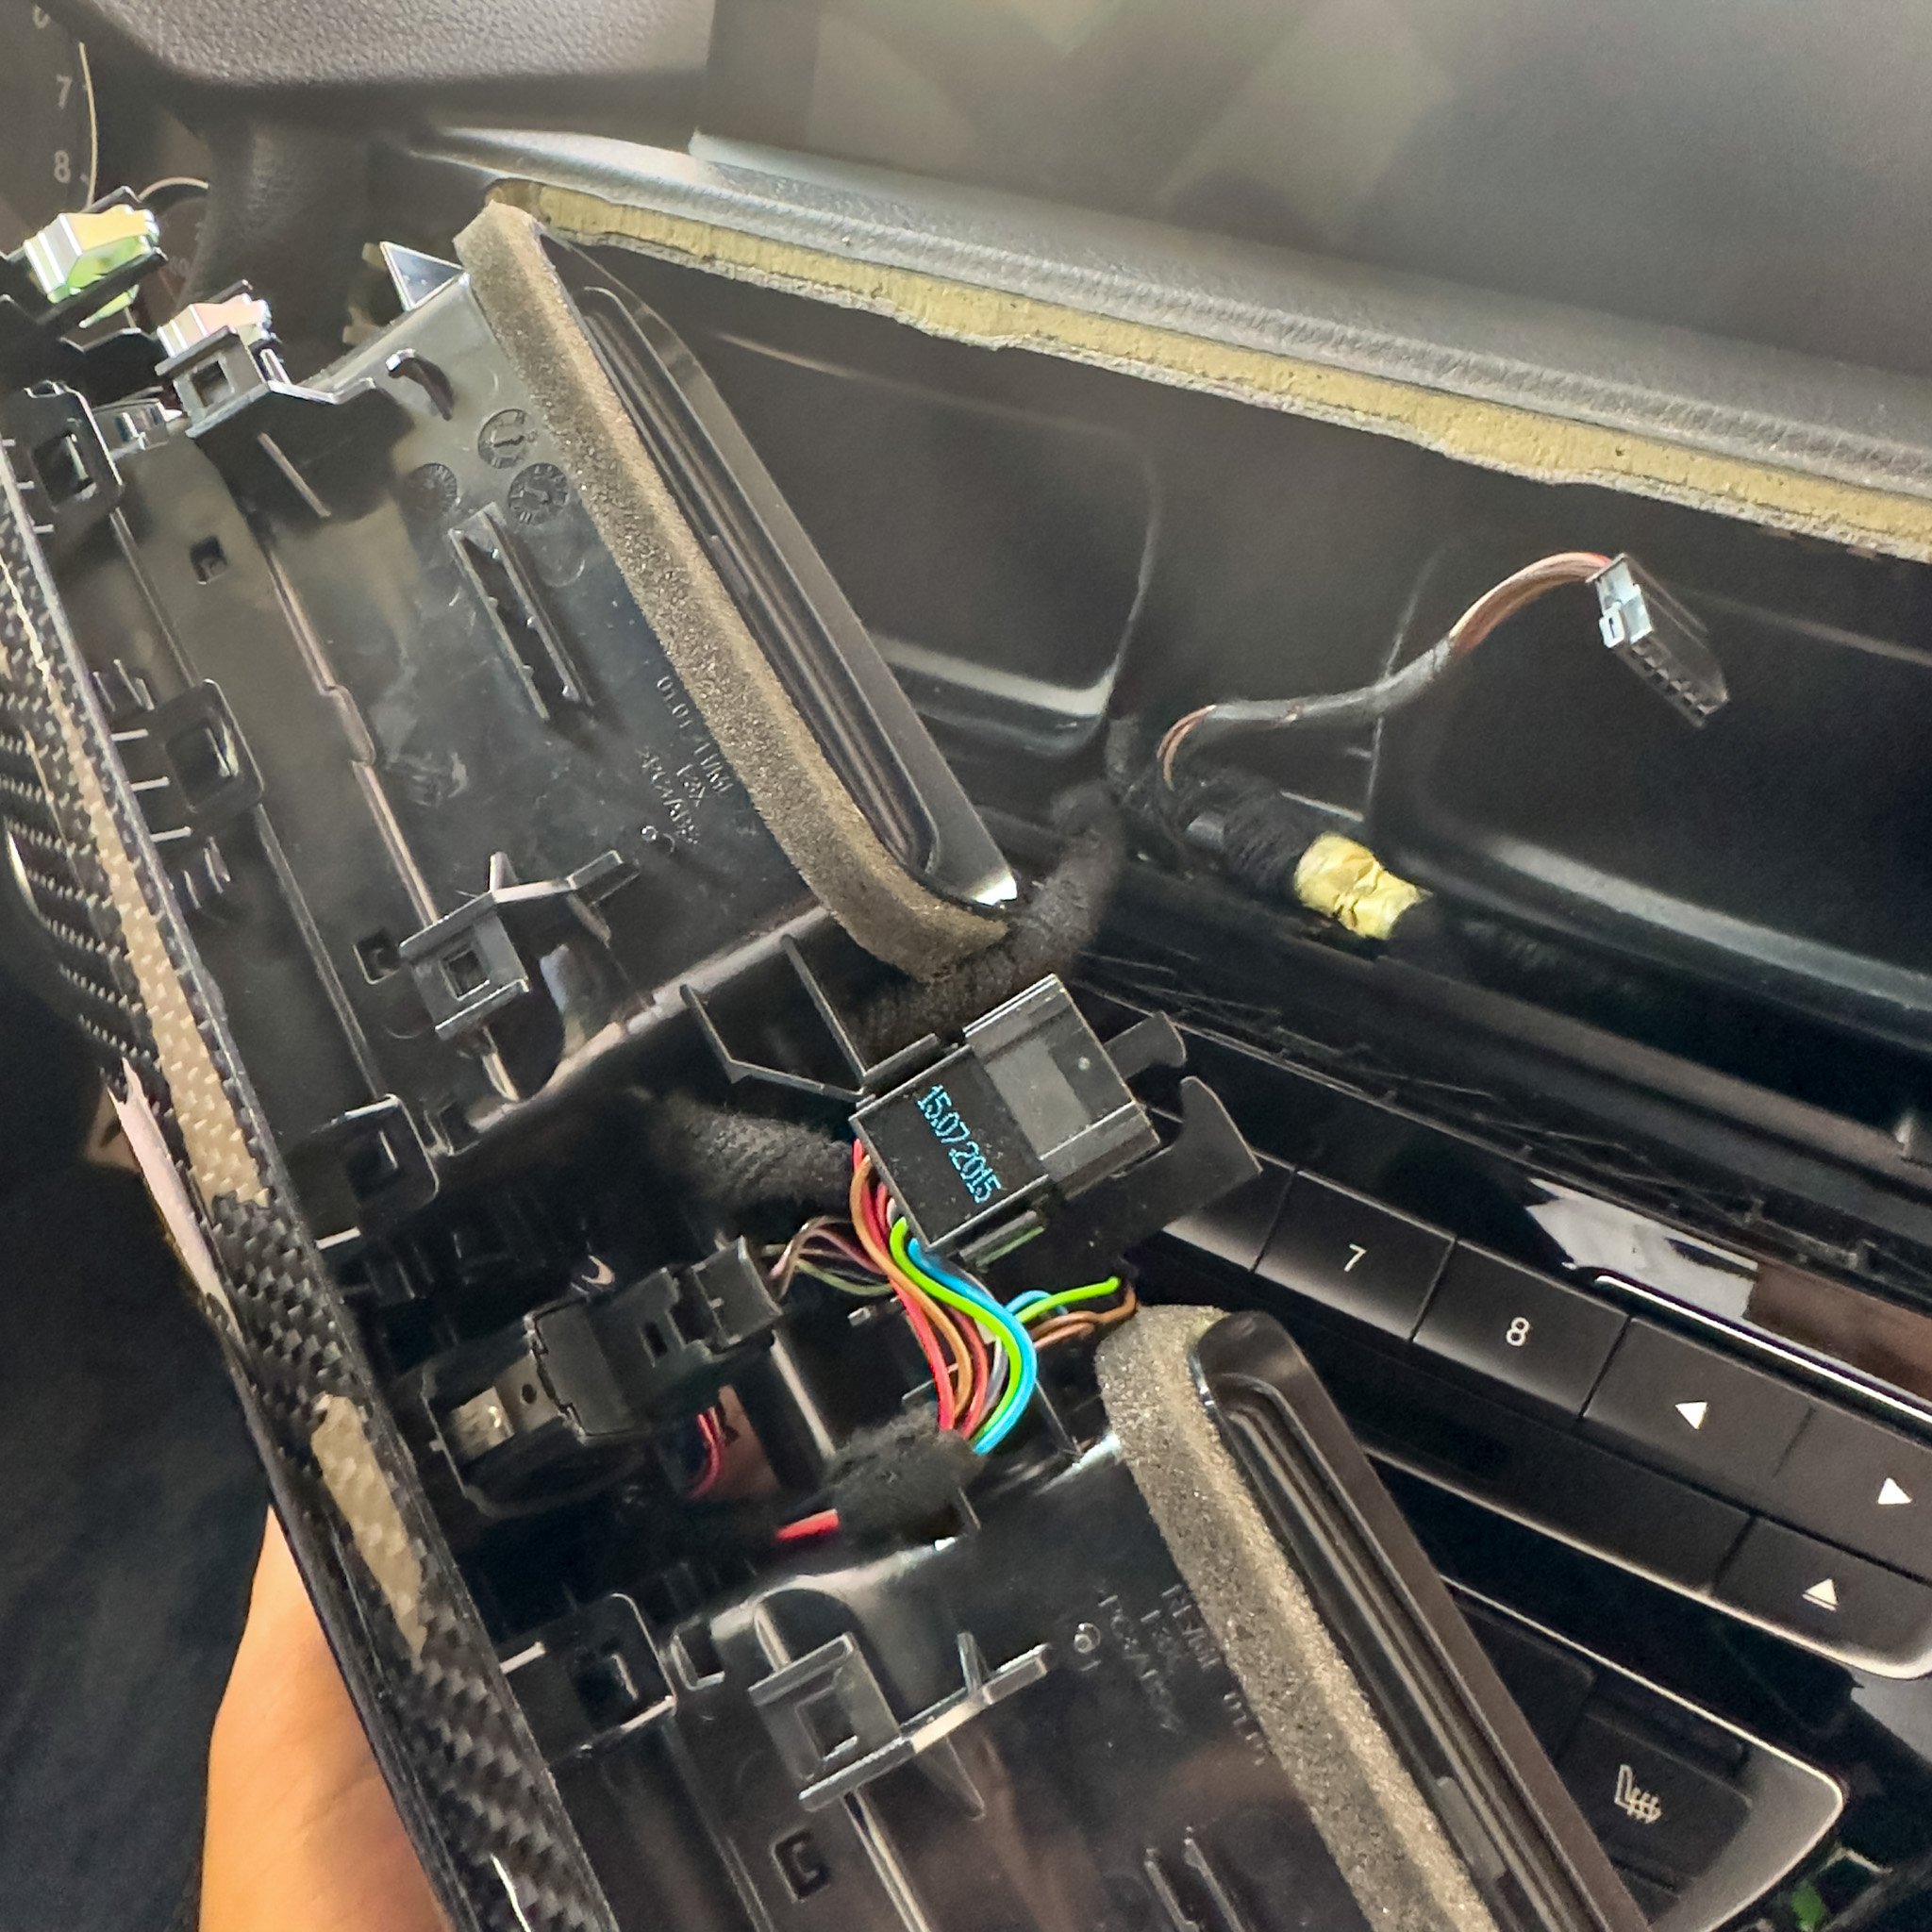
5. Example of clips being removed.

6. Now that your dash trim has been removed. You will than locate two screws shown above to start removing your Center Climate Control/Radio.

7. The other two screws will be located under the panel shown above. Just use both hands and place your thumbs under both climate knobs and push down to un-clip plastic tabs.
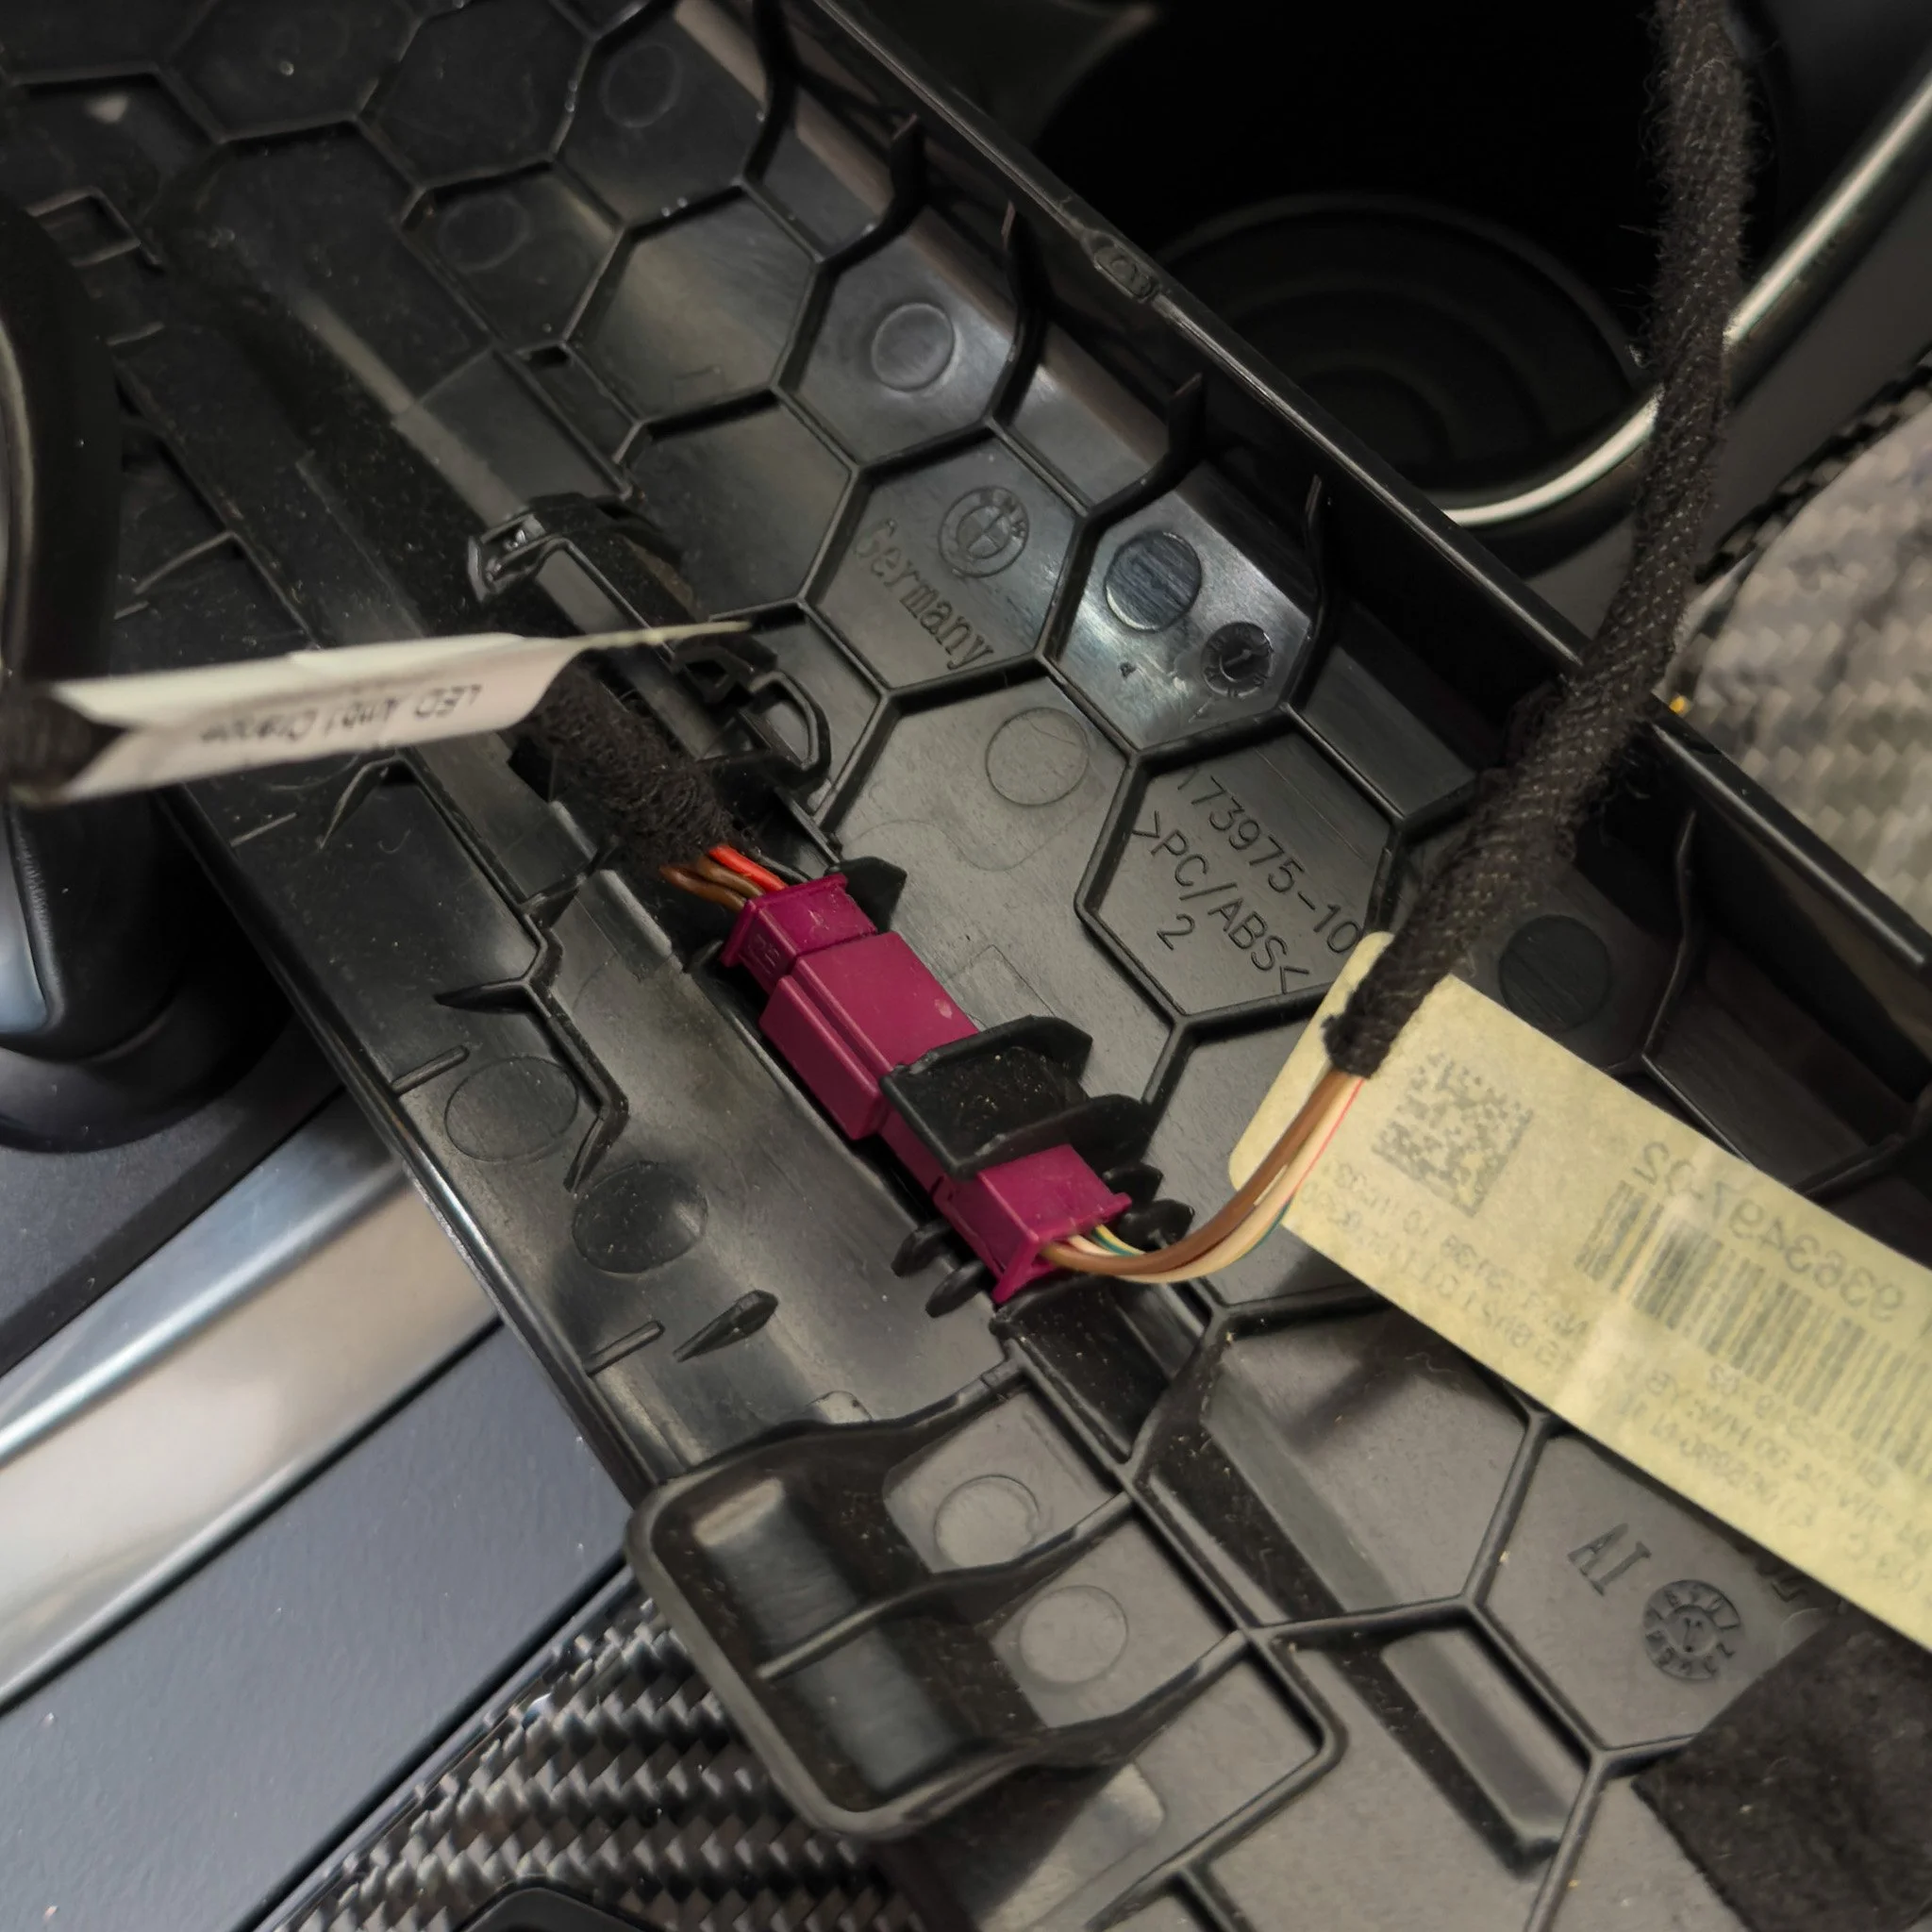
8. After panel has been removed. Be sure to un-clip purple connector.

9. Now that you have removed the panel to expose both hidden screws, you should now be able to remove the Center Climate Control/Radio which will than expose a connector to disconnected.

10. Once Center Climate Controller/Radio has been removed you will than expose your last set of torx screws.

11. Now that all screws are removed. Use a Microfiber to cover/protect area so you can rest your head unit without completely unplugging everything.

12. Next step will be to locate purple plug in the back of your head unit show in above picture.

13. Once purple connector has been located. Grab your Antenna and connect.

14. When connected this is how it should look.

15. Now that you have connected your Antenna. This will be a great opportunity to clean up your cables and tie up any extra slack that’s not need.

Above shows were I ended up placing my Antenna for the best Wi-Fi reception.
Congratulations! You have finished the first or last step depending on which one you did first.
Now i will show you example videos of my personal vehicle getting flashed from iDrive 4 to iDrive 6.
Process took about 1 hour to get done and my expert was super helpful with any questions I had.
Affiliate Disclosure: As an Amazon Associate, we may earn commissions from qualifying purchases from Amazon.com which will not effect the price your purchase.
Thank you for supporting